Section 4.2: Post-grafting Management of Vines – Grafted Vine Shoot Training, Timing & Techniques

“Field grafting is a great way to change variety or clone and quickly return a vineyard to full productive potential. Field grafters are only partly responsible for the success or failure of field grafting. Understanding what preparation and follow-up is required as a grower to influence the final strike rate is critical. VitiSense provides all the information, techniques, demonstrations and explanations and to ensure your field grafting experience is a positive one”.
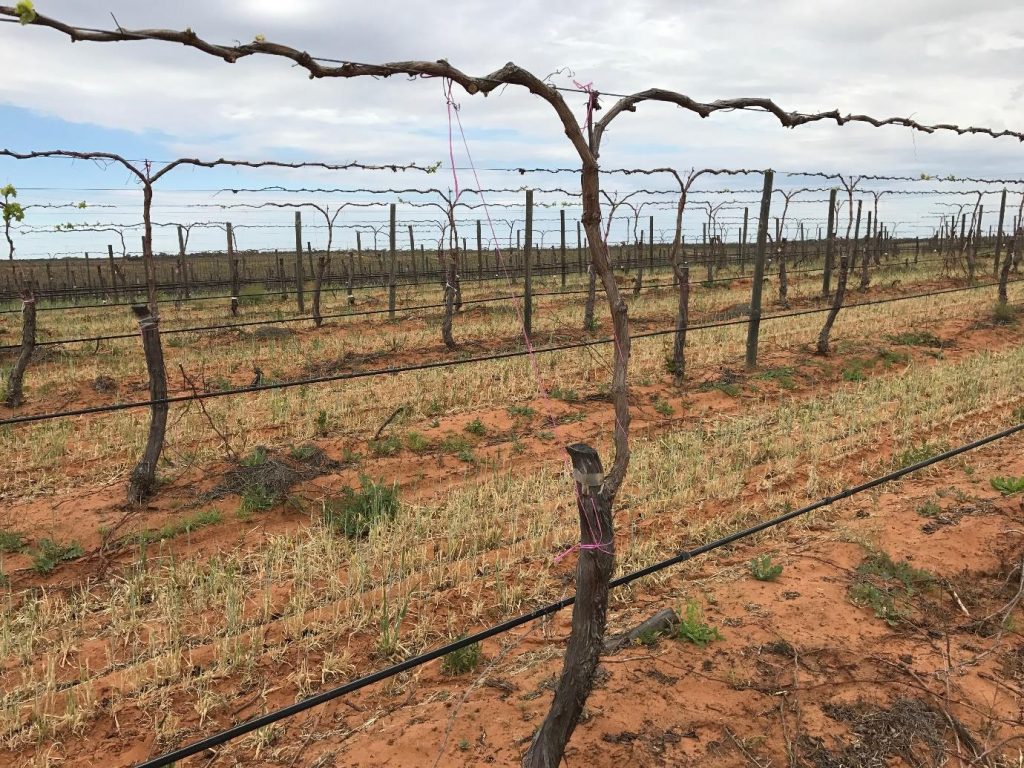
Shoot training can make all the difference between reaching full crop potential the year following grafting or not.
Grafted buds begin to grow leaves and extend shoots between 3 and 8 weeks after grafting in most seasonal conditions. Once the buds begin to grow the shoots are very susceptible to breakage from wind and need to be secured to a string. Bailing twine is best suited to training and can be pre-cut on a timber jig prior to going into the vineyard. The jig is just a timber plank which allows the folding of the string end on end so it can be cut at one end. The length of the string depends on the distance of the buds from the cordon wire. It should be twice the length from the buds to the cordon wire.
Timing of Tying
Strings are tied to cordon wires and so these wires should be installed prior to 2 weeks after grafting. It is OK to install cordon wires anytime before grafting as they generally don’t interfere with grafters work. Make sure wire ends are either wrapped flat to the wire or cut short so they are not protruding which can lead to facial and eye injury for the grafters.
String tieing can begin as soon as the grafters are finished. All vines should have a string attached by the 3rd week after grafting at the latest.
Once strings are attached the vines will need to be trained and the first two passes to secure shoots to the shoots to the strings is critical. In total, allow for 7-12 training passes to fill the cordon wire in the first season after grafting.
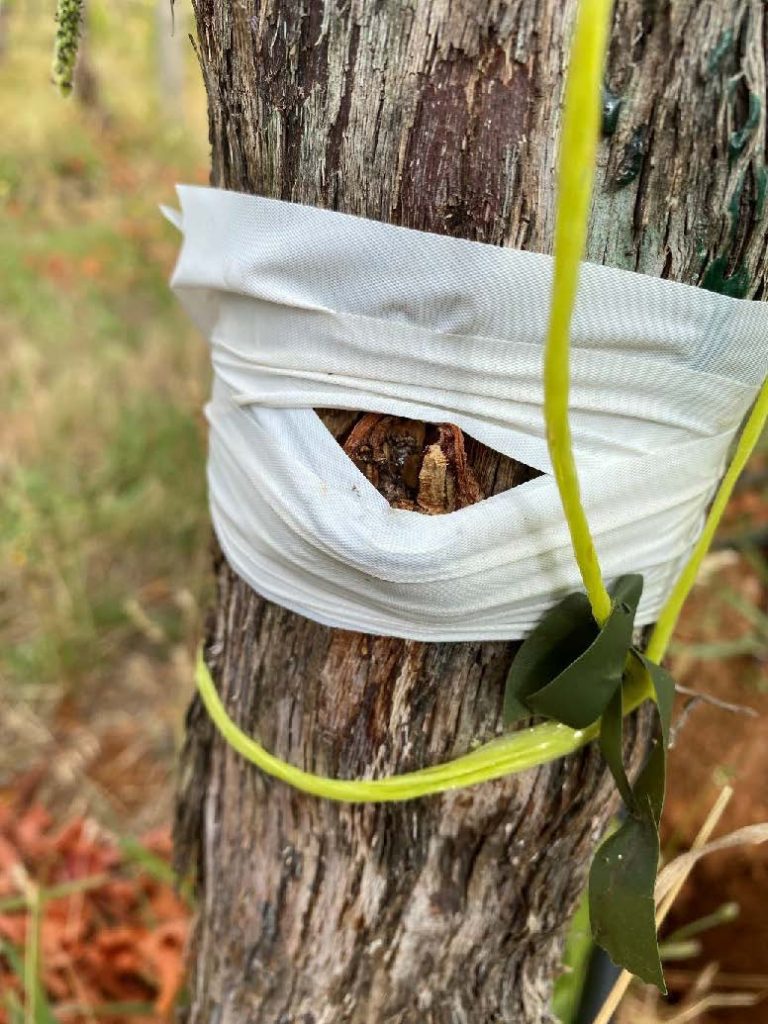
Tying Technique
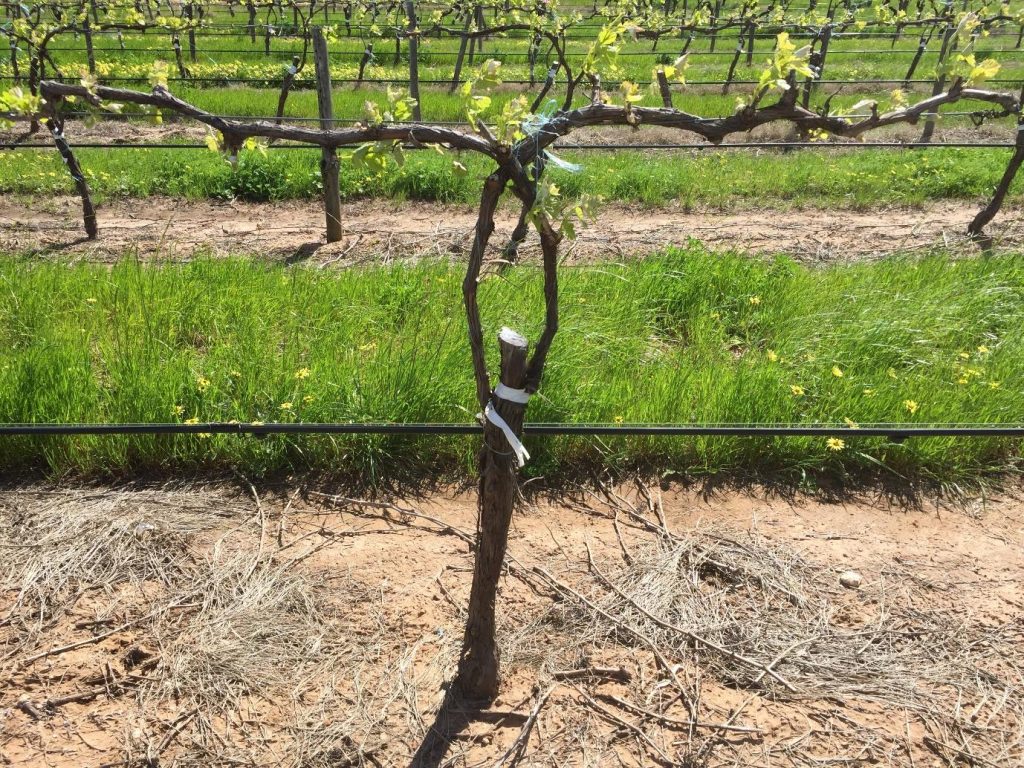
- Fold the string in half around the trunk below the buds
- Pass the two ends through the loop and bring the strings up to the cordon wire ensuring both go past a bud on either side of the vine trunk.
Tie the strings in a half hitch with a bow at the cordon wire (See picture below).
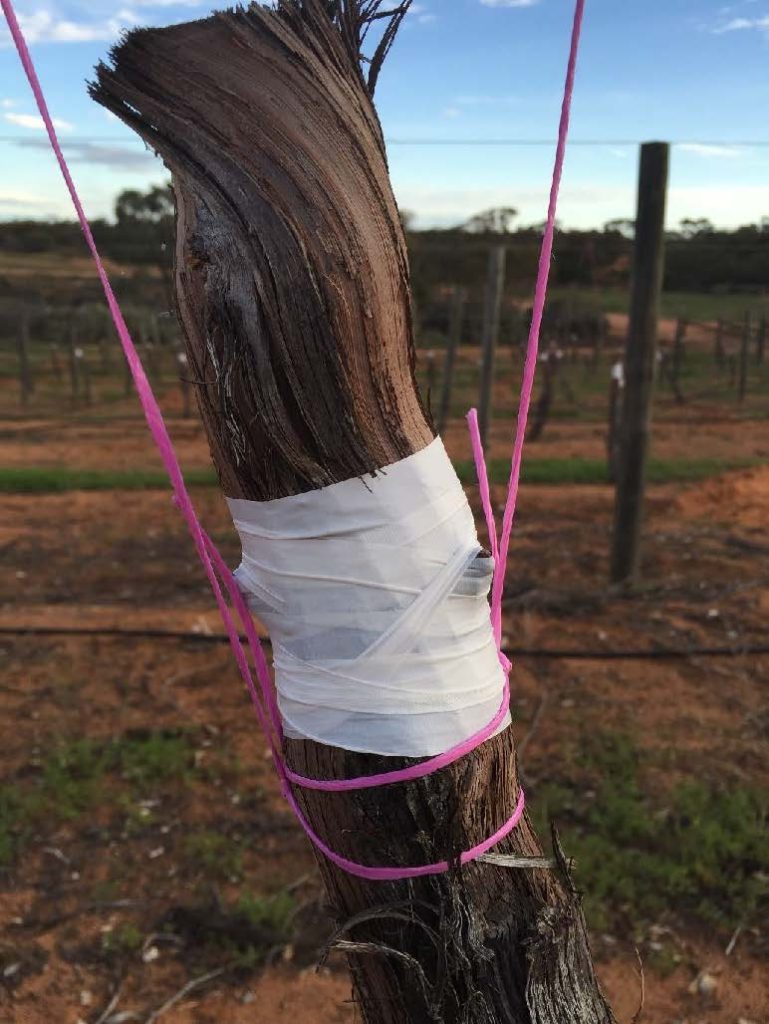
Furphy: “Tieing below the buds will strangle the trunk and prevent the buds from growing”.
False. The strings only remain on the vines for one season and are not tight enough to damage the trunks. Tying off below the buds has many more benefits than tying off above the buds.
Tying off below the buds became the recommended way to tie grafted shoots after it was noticed that when tying off above the buds occurred, the grafted shoots needed to reach some length before thy could be secured and quite often they were damaged by wind before this could happen.
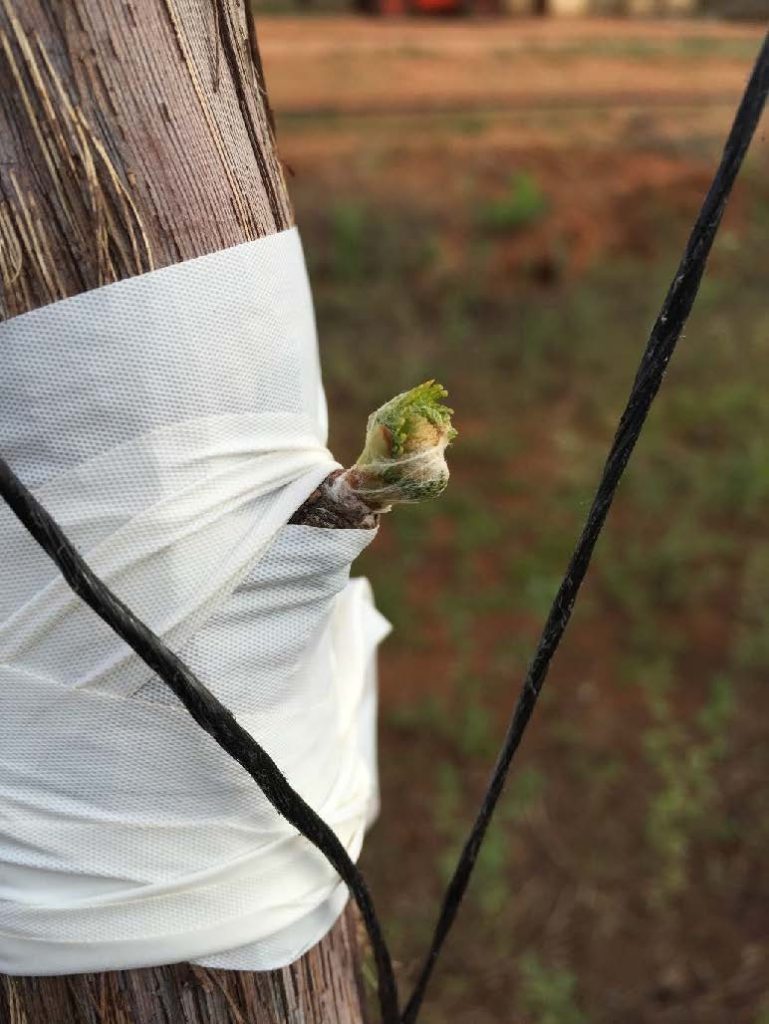
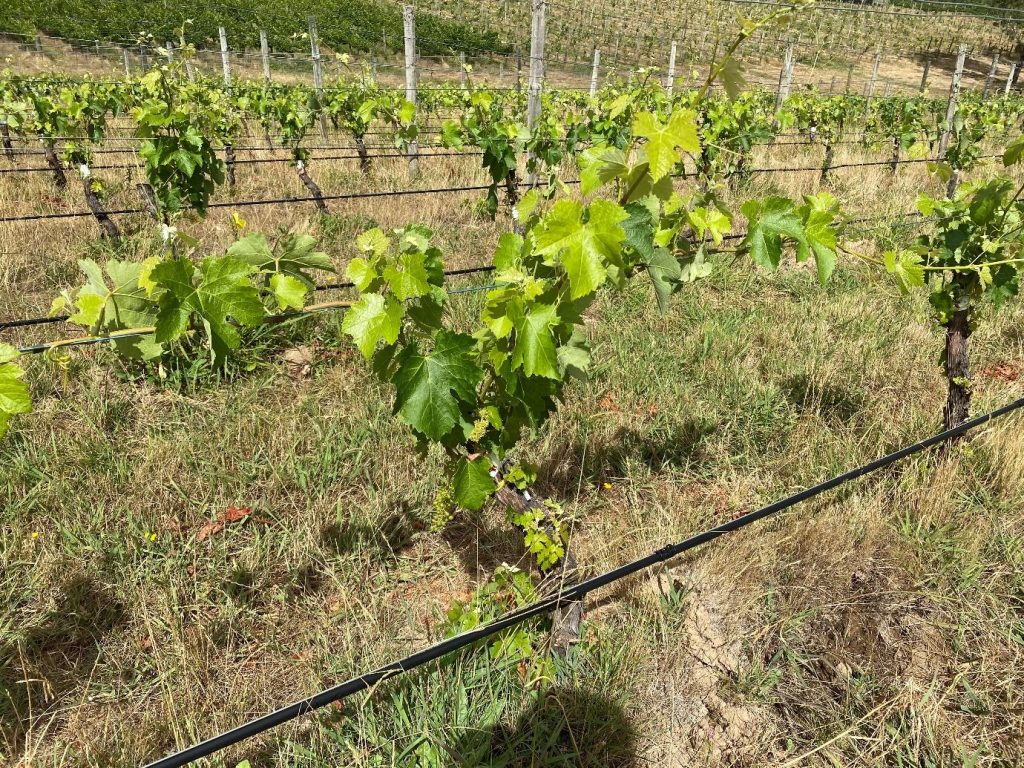
Shoot Training
When the grafted shoots emerge and grow to about 5cm they will need to be fixed to the training twine without wrapping. A taping tool will be required. The reason for this recommendation is that twisting shoots can break them, dislogdge the grafts and can come undone. Depending on the distance required to reach the wire the average shoot may require between 1-3 tapes. Once at the cordon wire wrapping can occur however some grower prefer to “loose wrap” cordons and tape and make permanent wrapping a Winter job once lignification has occurred.
Training Tools
There are many on the market and these are two commonly available tools.
Option 1
Simes Tape tool Model 145 Price $Not known
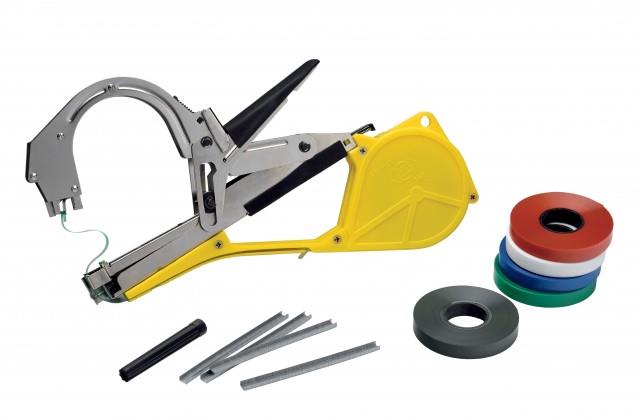
Technical Information
The tool is of robust construction with many features that put it ahead of its competitors. These features include:
- Wider opening than any other tool on the market.
- Adjustable opening. It can be adjusted from 0 to 80mm wide.
- The large arch on the jaw gives it a larger tying diameter than its competitors.
- Holds more staples than other tape tools, therefore less time wasted with loading.
- The staple slide is fixed to the tool so it won’t get lost when re-loading staples.
- The tape is simple to load, again leading to less downtime.
- The tape can be tensioned for tighter ties or flower bunching.
- Smooth easy action requiring less effort.
- Blades are longer than other brands giving them a better cutting capacity and longer life.
- Simes tape cuts better and has a much better stretching capacity than other tapes.
- The tape also comes in several colours and grades.
- Simes staples are better glued than other brands resulting in less jamming in operation.
- The staples are slightly crimped for a 100% success rate.
Option 2
MAX® HT-R Large Spool Tapener Gun replaces the original HT-B(NL). Price: $145.30
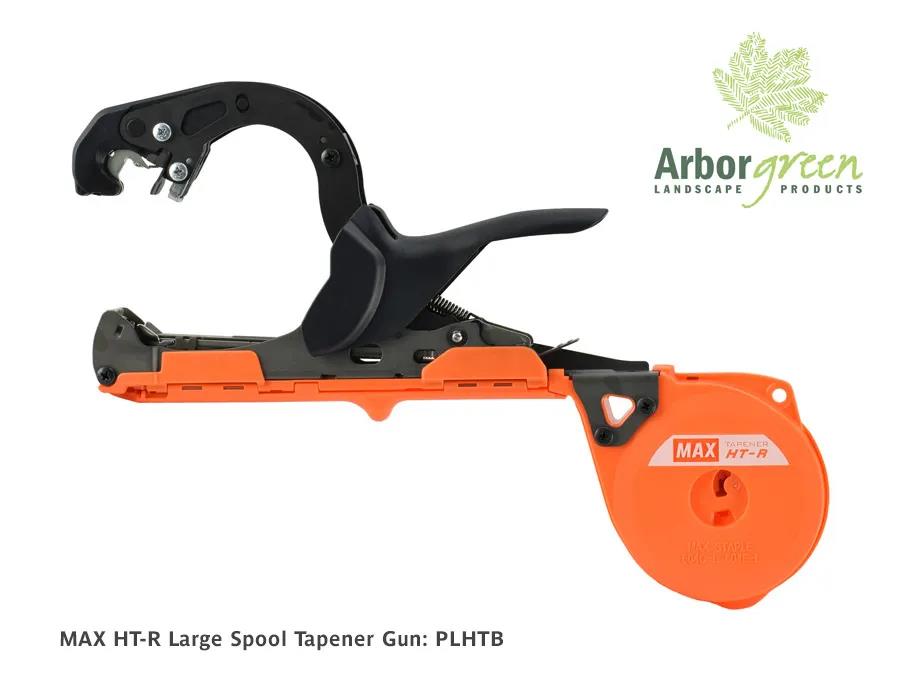
Innovative single handed tapener gun is ideal for rapidly securing vines, staking small plants and training fruit trees. By simply squeezing the handle the tape gun wraps tape around the stem then cuts the tape and staples it securely in one action.
- 24% lighter than the original HT-B model
- 50% lower clinching force
- better ergonomic design, improved cut accuracy & easier tape setting
- leaves a no-scrap tab on the end of the tape
- large spool HT-R2 model uses 15um thickness 11mm wide x 68m large spool tape
- Designed in Japan.
Blowouts
When grafted shoots are not supported correctly the weight of the shoot cannot be supported by the bud union with the trunk and the shoot pulls the bud out of the trunk. This is referred to by grafters as a “blowout”. This occurs because the grafted shoot cannot support itself as the bud union is usually soft in the first year of callusing until dormancy and cane lignification is reached at the end of the season. The weight of shoot growth and the assistance of wind then cause the bud to fall oput of the trunk. This can result in a full blowout or a partial blowout where the bud will survive and only partially callus across the lower cut.
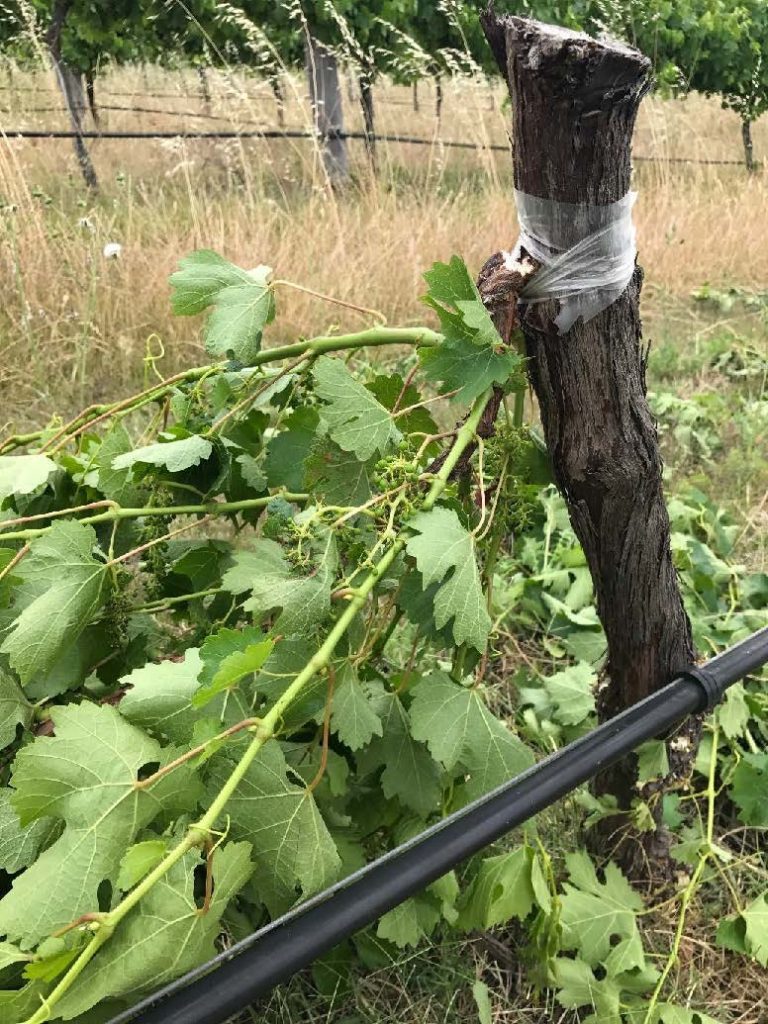
Blowouts are are best avoided as they don’t grow back and the grafters will usually charge to regraft these vines at a premium.
Training Grafted Vines
Training field grafted or top-worked vines requires a different approach when compared with training a newly planted vine. A grafted vine has buds which are situated about 15cm below the top of the trunk. There are two options for training grafted shoots;
Option 1
Both grafted buds have taken and produced healthy shoots;
During the growing season: Take both shoots up on strings until then reach the cordon wire and wrap using no more than two wraps along the wire and tape.
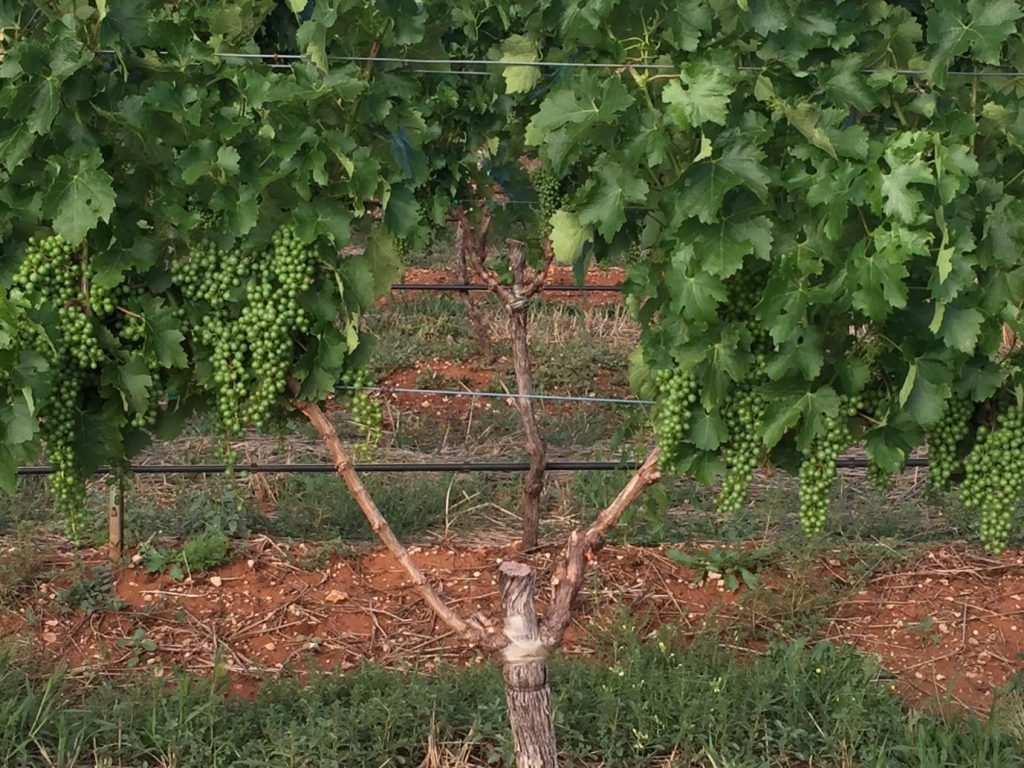
At pruning: Once dormant at pruning unwrap the canes and cross them over at the middle and place on the cordon wire in opposite directions. This is called the “Cross over” technique. It will result in a strong vine structure able to withstand machine harvesting in the first harvest after grafting as well as close I the crown to have 2 or 3 spurs where there would heve been a gap if the “cross over” wasn’t used.
The “Cross over” training technique post pruning results in extra yield due to the allowance of spurs in the crown and a small gap in the wire.
Furphy: “You cannot grow high quality winegrapes by having bunches in the crown of the vine”
False. The crown should be treated as one segment of the cordon wire and if spurs are spaced a “hands width” apart then there should be no issue with compromising fruit quality. Not utilising this area of the vine can cost up to 8 bunches per panel or 3,333 bunches per Ha in a standard vineyard (3 metre row spacing and 6 metre panel length). This equates to 0.5 tonnes/Ha if bunch weight is averaged ar 150gms/bunch.
Option 2
If only one bud of the two grafted buds has taken (strike) then take the single shoot to the wire and either roll the shoot over the cordon wire as a unilateral or tip the shoot at the wire and train two lateral shoots onto the cordon wire for a Bilateral setup.
One bud or two?
If both grafted buds bust the management of both buds varies between growers. Some choose to select one bud and train it to the cordon wire. Others take a mixture of single and double buds and train them to the cordon wire. Both techniques are fine however having the second bud as a “backup” can be handy in case of breakages during training or pest and disease.